How to Remove and Replace a Toilet Seat
Learn how to remove and replace a toilet seat
It's the Most Important Seat in the House...
Chances are, if you’re thinking about replacing your toilet seat, it’s likely time for a change. It’s a simple way to upgrade the look and function of your bathroom. It’s also key to good hygiene, because we sit on our toilet seat for an average of up to 27 minutes each day.
Let’s get started! Replacing your toilet seat can take less than 15 minutes, so follow these steps to successfully remove and replace an existing toilet seat.
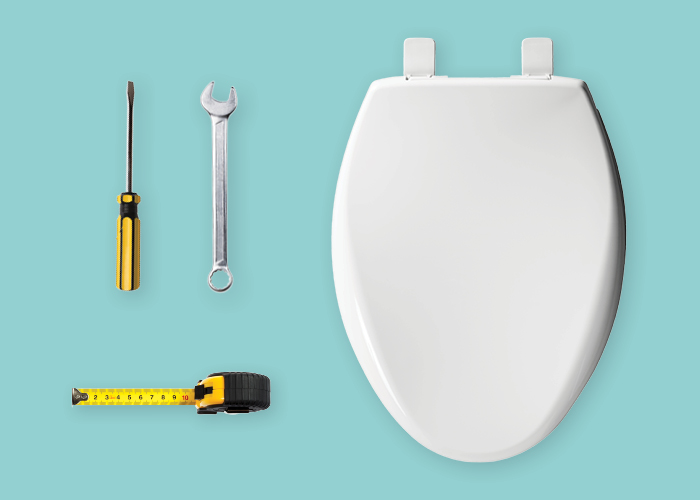
What you’ll need:
- Replacement toilet seat
- Tape measure
- Screwdriver
- Pliers
- Rust penetrant (optional)
- ½” OR 5/8” socket or combination wrench, depending on the toilet seat
Step 1: Finding the Perfect Match – How to Measure a Toilet Seat
Our helpful video is a great place to begin.
Standard toilet bowls and toilet seats come in two sizes: round and elongated. To determine what size toilet seat you need, measure the length of the toilet bowl and the distance between the mounting holes.
A round toilet bowl will measure approximately 16 ½” in length. An elongated bowl is approximately 18 ½” in length. Based on your measurement, choose the appropriate seat – round or elongated – for your bowl. Our seats are designed to fit most manufacturers’ round or elongated bowls.
Step 2: Out With the Old - How to Remove a Toilet Seat
Removing your existing toilet seat can sometimes take a bit of work. With a standard wrench, a screwdriver and some rust penetrant, you'll be able to DIY your way to a new look in no time.
Toilet seats can typically be removed with either a screwdriver or a wrench. Please use caution, because your tools can easily chip the porcelain of your toilet bowl. Locate the nuts under the toilet tank and grip them firmly with pliers in one hand. Hold the nuts in place while you use the other hand to unscrew the toilet seat bolts with a screwdriver.
HINT: If the bolts are rusty or badly calcified, spray them with rust penetrant and let it sit for five or ten minutes. Try loosening the bolts again.
Step 3: Clean Slate (and Seat)
After removing the old toilet seat, take the opportunity to clean around the bolt holes. Place the old toilet seat in a plastic bag and dispose of it properly.
Step 4: In With the New – How to Install a Bemis Toilet Seat
In Step 1, we took you through the steps of measuring a toilet seat. Armed with that knowledge, you should have the proper sized replacement toilet seat to now install on your bowl. Each of our toilet seats are packaged with the appropriate hardware kit and instructions.
If you have any questions during installation, please feel free to contact our Customer Service team at 888.722.6488 and they will walk you through the installation process.
If you prefer watching an installation video, please refer to your instruction sheet to determine the name of the toilet seat or its model number. Have that handy when you click here to view our list of installation videos.
Bemis seats also feature hinges that let you easily remove the seat so you can access those pesky, hard-to-clean areas. Learn more about our complete line of features here.
Ready for more? Head over to The Reading Room for handy articles related to toilet seats. From tightening to loosening and everything in between, we've got it covered!
How to Loosen Your Toilet Seat
How to Tighten Your Toilet Seat
Who Knew That Cleaning Your Toilet Seat Was So Easy!
How Often Should You Change Your Toilet Seat? Six Ways to Know